Showing posts with label baking. Show all posts

Thursday, July 29, 2010

Peanut Butter Surprise Cupcakes

Have you ever had a peanut butter cupcake? I haven't. But I've always wanted to. So I invented them.*

And... you know me. I just had to kick it up a notch. So I embedded a *surprise* in these peanut butter cupcakes.


Can you guess what it is?

Any ideas?

TA-DA! Ready??....

Peanut Butter Cupcakes with a Peanut Butter Cup Center and Chocolate Buttercream

This is better than that time that I made it to the regional round of Invention Convention in 3rd grade for inventing non-slip bathroom floors.

Though I know I should be patenting this recipe and making the big $$$$, I believe in good karma and am therefore going to share it with y-o-u!

Here is the cupcake recipe. After about ten minutes of baking, push a peanut butter cup into the center. Bake for 10-13 more minutes. Allow to cool, and top with the chocolate buttercream found here.

*Disclaimer: I am probably not the person to discover peanut butter cupcakes. But it makes me feel good to think that I am.

Thursday, July 15, 2010

Still feelin' peachy!

Ohmygosh. I went BACK to the farmer's stand and bought eleven more peaches today. Am I obsessed? Just a little?

When you see this peach crisp, you will understand why. Just another good old Martha standby. Sweet, syrupy peaches & crispy, crunchy, nutty crust. Oooohhh. The smell.

Feast your eyes on this:

The good news: no butter, minimal sugar.

The bad news: I'm not very good at sharing.


Oh! Don't mind if I do.

Monday, July 12, 2010

Snickerdoodles

Today I made snickerdoooOOodles. I had forgotten how yummy and simple they are! And they travel well, if you happen to be sending them in a care package to someone you know ;)

I used this recipe by Martha Stewart.

Thursday, July 8, 2010

Banana Cupcakes with Brown Sugar Buttercream


Holy moly. You want to taste goodness? Make these banana cupcakes. You want to taste even-better-ness? Slap on a little brown sugar buttercream. You want to make them superbly cute? Roll out some fondant flowers. 

There you have it. A recipe for success.

My cupcake baking went a little backwards today, as in I started with toppings first. I impulsebought a package of Wilton pre-made fondant at the store the other day, and have been itching to do something with it ever since. 

So I added some color and got inspired by these gorgeous flowers in the garden:


Replicated in fondant form:

Well aren't you just adorbs!

Anywho, after I made my cupcake toppings, I needed a cupcake! I was trying to find something semi-healthy that doesn't involve 2 sticks of butter and 4 cups of sugar (it is bathing suit season after all), and stumbled upon Bakerella's banana cupcake recipe. Overripe banana = less butter and less sugar needed! I used even less sugar than the recipe suggests, and soy milk instead of whole.

THEN, I needed a frosting! I was trying to think of yummy things that go with bananas (chocolate, peanut butter, i.e., everything?), and settled on the classiest combo I could come up with: brown sugar, a la bananas foster. I made up my own recipe (!) for the frosting, and it went a little something like this:

1/4 cup unsalted butter, softened
1/4 cup brown sugar, packed
1 - 1 1/2 cups powdered sugar
1 tablespoon milk
1 teaspoon vanilla

Beat the butter and brown sugar until light and fluffy. Add 1/4 cup powdered sugar and beat until incorporated. Add milk, vanilla, and another 1/4 cup of sugar. Beat for a minute or so, and add another 1/4 cup of sugar. Based on the consistency you want, add the last bit of powdered sugar, or more to your liking. Makes enough frosting for 12 cupcakes or 24 mini cupcakes.


Thursday, July 1, 2010

S'mores cookies

I know what you're probably thinking. Why's this girl so obsessed with s'mores? They're good, but maybe not so good that they need to be recreated in every baked good imaginable. But I say, maybe they do. 

I set out today to make chocolate chip cookies for my upcoming trip to the shore. But, when I opened the cabinet, fate stepped in. Fate in the form of mini marshmallows falling on my head. Alright, okay, fate, I'll incorporate those mallows into my cookies. And you know what? Yeah, I'll throw in some graham cracker crumbs too.

And just like that, s'mores cookies were born.

I followed this recipe, and added 3/4 cup of graham cracker crumbs to the dough. Then I put a mini marshmallow or two on top of the scoops of dough. They came out verrryyy flat but very delicious. I would suggest using copious amounts of cooking spray on your baking sheet, as those little mallows are sticky.


S'mores goodness without the grill (ours was stolen. I think the robber reads this blog)? Sign me up!

Friday, June 25, 2010

Peanut Butter Blondies

With homemade chocolate frosting. Need I say more?

I think I need to start a "chocolate and peanut butter" section in my recipes. There are few things I love and appreciate more than the combination of chocolate and peanut butter. And when the peanut butter comes in blondie form? Yes, yes, and yes.


Alright - I'll admit it. This recipe breaks one of my cardinal rules of baking - it requires using the stove. I'm a no-fuss baker. If I can make it all in one bowl, I will. Using the stove = extra pots to clean, extra time, and extra patience. I don't have patience. But for this particular choco/PB combo, I'll have to stick it out. This is just one recipe you can't walk away from.

As always, thanks again, Joy the Baker! Truly the most fabulously delicious baking recipes out there. If you haven't yet, you must go check her out!

Here we go...

Combine 10 tablespoons unsalted butter with 2 cups dark brown sugar in a medium saucepan on medium heat. Stir until the butter melts, then remove from heat. It should look something like this...

Oh, hello. Don't you look gorgeous!


Add 1 cup of natural peanut butter. Allow to cool for 10-15 minutes.

Whisk in two eggs and two teaspoons vanilla. Look at these cute little guys from a local farm! 


Mix together 2 cups flour, 1/2 teaspoon salt, 1 teaspoon baking powder. Add to the wet ingredients and stir until combined. 
Spread into a 9x13 pan and bake for 20 minutes at 325 degrees.

Meanwhile, get started on that chocolate frosting. 

Uh huh. Looks about right. Somewhere between chocolately heaven and fluffy frosting goodness.

Beat 6 tablespoons softened unsalted butter with 3 tablespoons unsweetened cocoa powder and 1/4 teaspoon salt. Add 1/2 cup powder sugar and 1 tablespoon milk - beat until combined. Add 1 cup powdered sugar and 2 tablespoons milk - beat until fluffy. Melt 3/4 cup chocolate chips (I used semi-sweet) in the microwave and add to the mixture.

Saving these babies for Emily's grad party tomorrow. They are currently sitting in a neat little tupperware at my feet as I ride the Greyhound back home. Must resist. Must. resist.

Friday, June 11, 2010

S'more success

SSSS'MORE SSSUCCESS! 
After the other night's smorefail, I decided to walk away and sleep on it. I awoke in the morning with an idea - more graham cracker! More crumbs!


I made the new and improved bars and took them to my work picnic, and...

These bars were a hit. 
I'm being modest... they were a smashing success.

 Here is what I came up with. It looks complicated, but trust me it is easier than you think!
Layer one - graham cracker crust
(adapted from Beantown Baker)
1/2 cup butter, softened
1/2 cup brown sugar
1/4 cup sugar
1 egg
1 tsp vanilla
1 1/3 cups graham cracker crumbs
3/4 cup flour
1 tsp baking powder
1/4 tsp salt
Beat butter and sugar on high until light and fluffy. Beat in egg and vanilla. In a separate bowl, whisk together graham cracker, flour, baking powder, and salt, then add to butter, sugar, and egg mixture. Stir until incorporated, then spread dough on the bottom of a greased 9x13 pan.

Layer two - brownie
Make a box of milk chocolate brownie mix (you will need 2 eggs, 1/2 - 3/4 cup oil, 1/4 cup water). Add a handful of chocolate chips, then spread on top of the graham cracker dough.

At this point, you will need to bake the brownie/graham dough at 350 degrees for 28 minutes. Let cool for a 5-10 minutes, and turn your oven up to broil for layers three and four.

Layer three - graham cracker crumbs
1/2 cup butter, melted
1 cup graham cracker crumbs
1/2 cup brown sugar
Mix until incorporated. Sprinkle on top of brownie.

Layer four - marshmallow
Sprinkle a layer of mini marshmallows on top of the graham cracker crumbs. Put under the broiler for ~30 seconds. Keep an eye on it - the marshmallows will burn fast!

Get out some knives and forks, and serve while still warm and gooey. Get ready to get crumbs EVERYWHERE :)

Thank you, friends and family, for all your comments and concern. I couldn't have done it without you!

Wednesday, June 9, 2010

S'more experimentation


I L-O-V-E s'mores. Not just love. L.O.V.E. Looove.

I love them perfectly plain.


I love them as cupcakes.


I love them as ice cream.


So, I thought I'd try something new. S'mores bars. Why not?

It was an experiment. A delicious one. Something along the lines of graham cracker crust, brownie mix, mini marshmallows.

But, sadly...it tasted all brownie. The poor little graham crumbs were lost in the goo of melted marshmallow.

But I will keep trying! This is my promise to you...

I will find the perfect s'more bar recipe. I will bake. I will taste-test. I will share. It will leave you wanting s'more!

...I took the s'more joke too far. I hope you can forgive me. And come back for s'more :)

Thursday, May 13, 2010

How to make friends

Here's what I've learned:

Baking makes you friends. 

When I moved to Boston I had ~3 friends. I started baking, and now I have at least 9! Chocolate chip cookies = friends. Red velvet cupcakes = more friends. Chocolate peanut butter whoopie pies = so many friends.

If you want to make friends, just whip up some whoopie pie cakes,
(which are essentially just cupcake tops, which is essentially the best part of the cupcake, no question)

Then, spread some peanut butter buttercream in those cakes.

Sandwich.

Share.


Then, charge your cell phone. You're about to have a whoooole lot of friends.

Recipe here!

Tuesday, May 4, 2010

Avocado pound cake

I bought a 4-pack of avocados at Trader Joe's last week (that's a lot of avocados). Then I stumbled upon yet another FAB Joy the Baker recipe: Avocado Pound Cake. Avocados? Cake? I like both of those things! Combining them? Genius! Here is the recipe.

Avocado Pound Cake
3 cups all-purpose flour
1/2 cup yellow cornmeal
1/2 teaspoon salt
1 teaspoon baking powder
1 teaspoon baking soda
3/4 cup unsalted butter, softened
3 cups sugar
4 large eggs
2 teaspoons pure vanilla extract
3/4 cup buttermilk
flesh of 1 1/2 ripe avocados, just over a cup to a cup and a half of avocado, mashed
Preheat oven to 350 degrees F.  Grease and flour two loaf pans and set aside.  
In a medium sized bowl, sift together flour, cornmeal, salt, baking powder and baking soda.  Set aside.  Set the four eggs out on the counter to come to room temperature while you beat the butter and sugar.  
In the bowl of a stand mixer, beat butter on medium speed until softened and pliable.  Add the sugar and beat until light and fluffy, about 4 minutes.  Add the avocado and beat another minute to incorporate.  Scrape down the sides of the bowl to ensure that everything is thoroughly mixed.  
Add the eggs one at a time, beating 1 minute after the addition of each egg.  Beat in vanilla extract.  
Reduce the mixer speed to low and add half of the flour mixture, all of the buttermilk, and then the rest of the flour mixture.  Beat just until combined.  
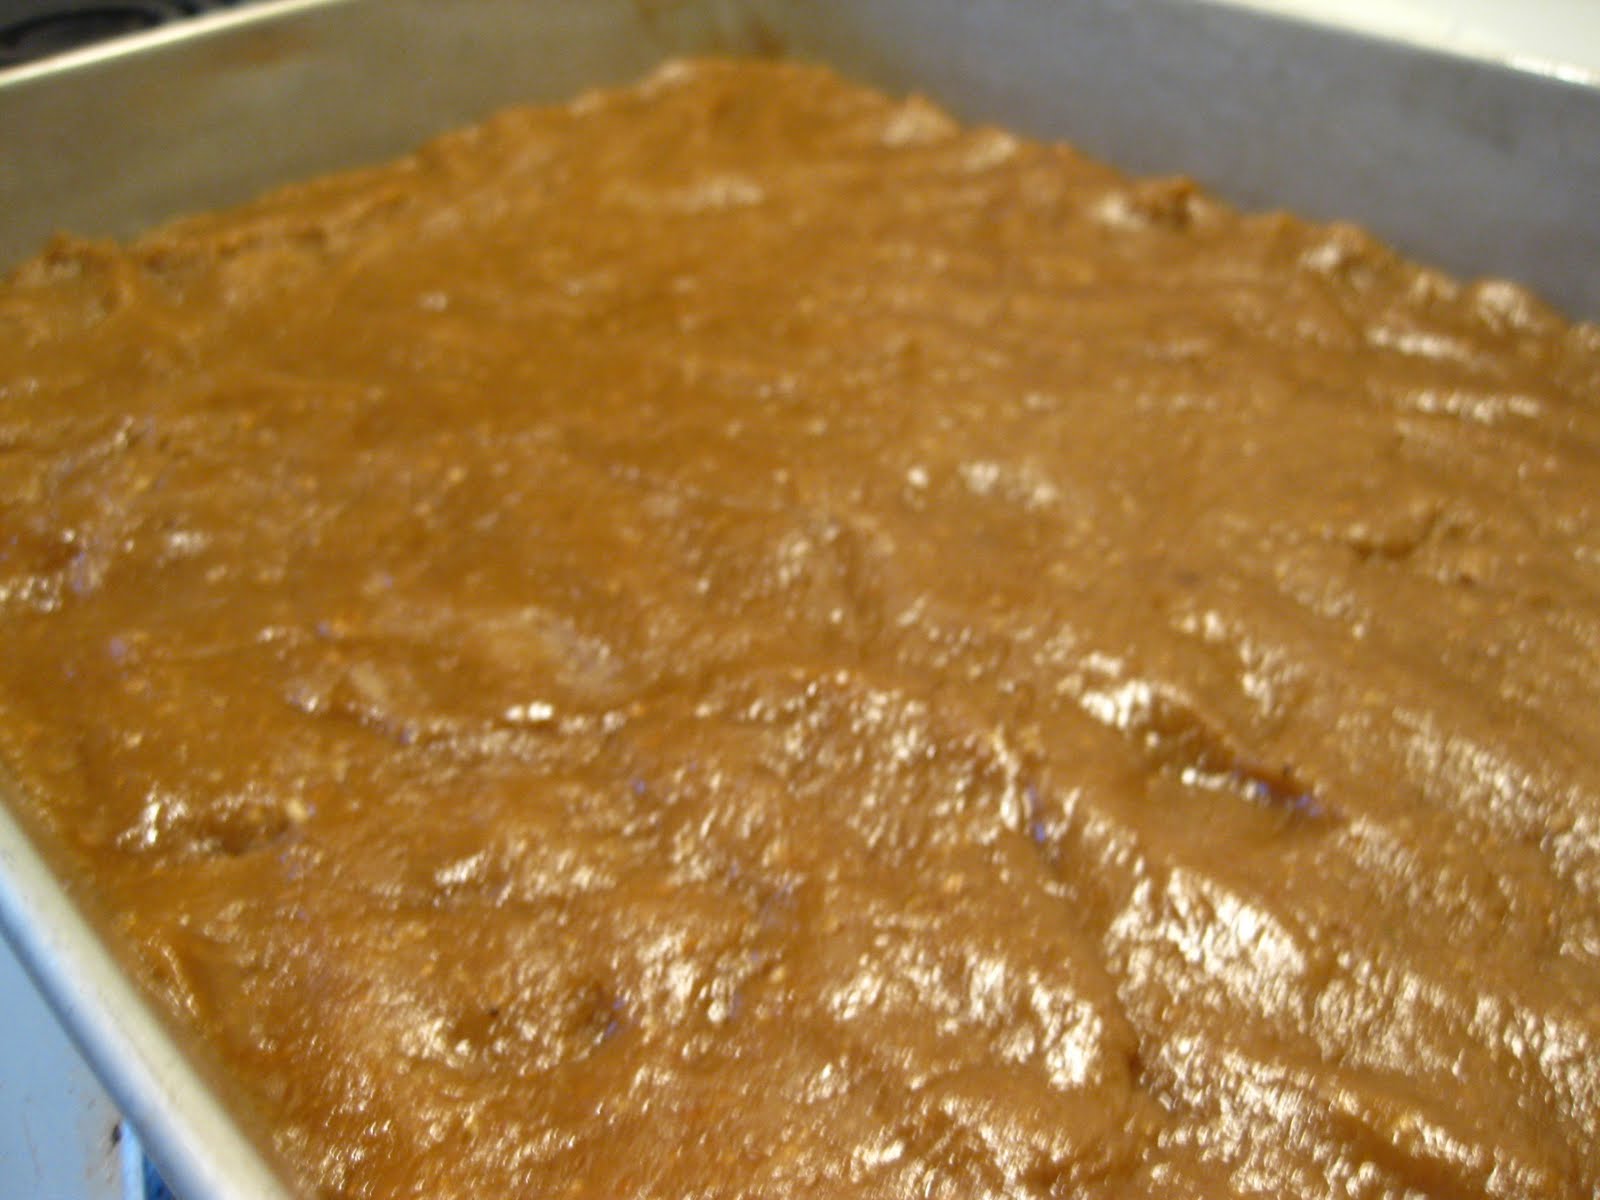
Divide the dough between the two loaf pans and place in the oven.  Turn the oven down to 325 degrees F.   Bake for 40-45 minutes or until a skewer inserted in the center of the cakes comes out clean.  I checked my cakes every ten minutes or so after the 30 minute mark.   Let cool in the pan for 10 minutes, then invert onto a cooling rack to cool completely.
I cut the recipe in half and only made one loaf. I have to admit I don't really taste any avocado in the cake, but it is super moist and yummy! Try it out!

Sunday, May 2, 2010

Reason #63 why I love my job


Lately, we've been learning about farms in our classroom. It's been a really fun unit; playing in the mud, "milking a cow", making our own ice cream, and an upcoming trip to the farm! But we also obviously had to bake. For Christmas, Josie gave me these GREAT cookie cutters:

 cow,

 sheep,

 and bunny! 

I found the barn cookie cutter on my trip to Concord. Friday we spent the afternoon baking, decorating, and playing in the sunshine. And I get paid to do this??


Kudos to Ali for the adorable cow and sheep decorations. Here is one of the kids' magical creations!:

Thursday, April 22, 2010

Macaron fail

I have a confession.
Today I tried to make macarons (again).
And I failed. Totally and completely.
I figured I needed to share this fail, because if I only ever posted my baking successes, that wouldn't be honest, now would it? But it's hard for me. It really is. 

They started out so great! Dyed robin's egg blue, sitting on the baking sheet just waiting to go into the oven to fluff into their cute little macaron selves.

But...oh. I am sad to show you what emerged just ten minutes later.

FAIIIIL. Fail. Double fail.
Cracks? No feet??
After some blog searching, I discovered that my oven was too cold. Lesson, learned.
A few had teeny tiny hints of feet:


But nothing like my almost perfect first attempt.


So, I tried to fill a couple anyway. I mean, the flavors are still there, right?
 But I had to give up after a few tries. This guy looks like a sad version of the Hamburglar.

Then, I did something I almost never do. 

I threw the rest out. Uuuugh. They were just too pitiful! I couldn't bear to look anymore!

Just as a reminder (mostly to myself) - I got it right the first time.
I will try again. I WILL try again.

Tuesday, April 20, 2010

Cute enough??


Welcome to part one of my quest to get on cutestfood.com.
Bugs in the grass!!


What do YOU think? Are they cute enough??


I sure hope so..!
And these cupcakes fit oh so perfectly in my "new" antique cake stand. Thanks, Mom!